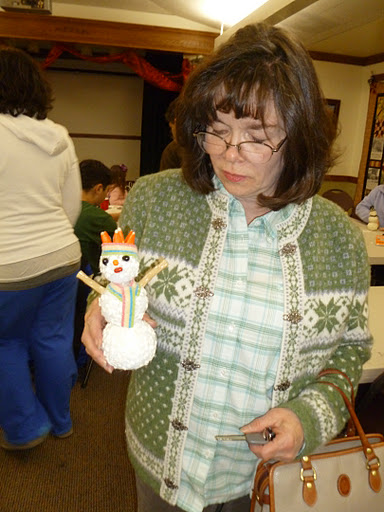
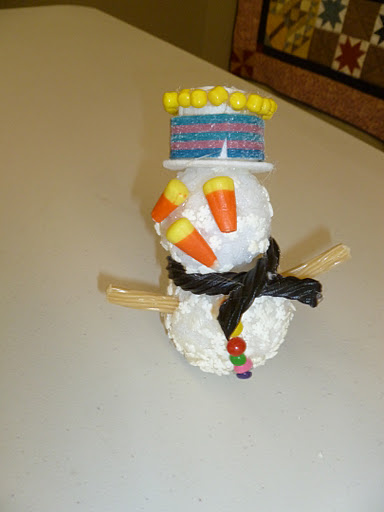
Frosty Progress Report

Frosty’s hat

It has been awhile since I posted about my candy sculpture project for Christmas. While I’m behind my original schedule I think it will be ok. The biggest obstacle as the moment is getting the box structure and backdrop for the window. I need it to properly size the base and to do the sky that goes in one panel of the backdrop. It is too bad that I’ve missed the nice weather this week to get the base and the sky done. I’m using silicone caulk at I prefer to do it in the garage so the fumes don’t stink up the house. I’ll soon be stopped from progressing if I don’t have the box.

almost finished broom with pins to hold the licorice in place

The status on all the parts and pieces:
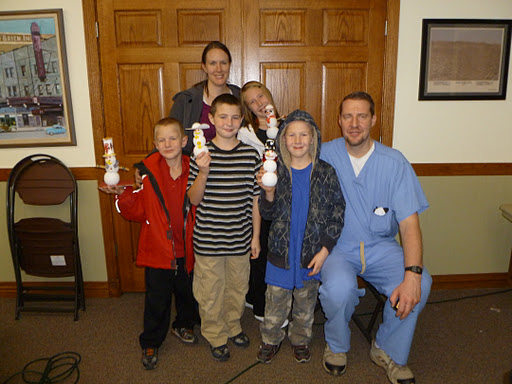
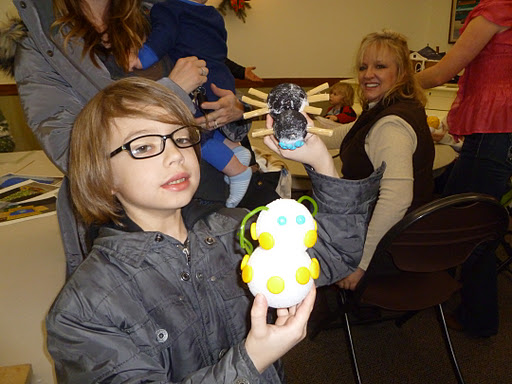
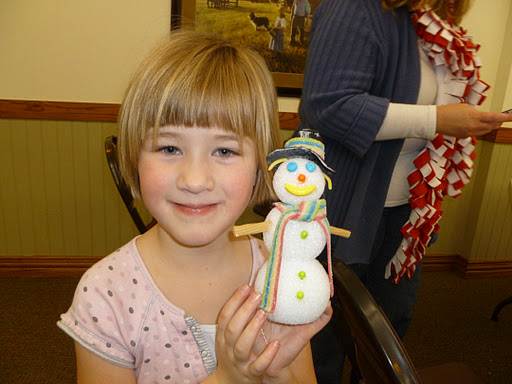
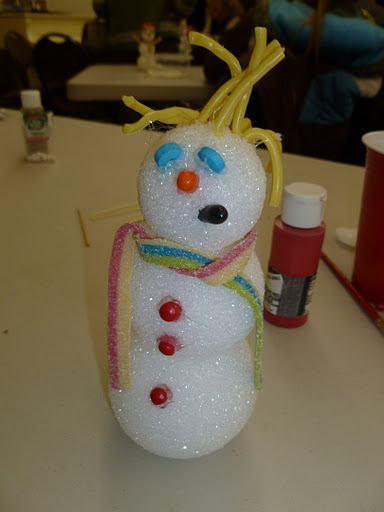
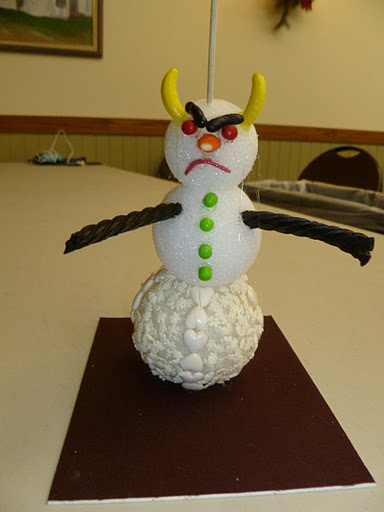
  • Frosty (finished)
  • Hat (finished)
  • Bow tie (finished)
  • Broom (almost finished)
  • Trees (started)
  • Small figures (ready to start)
  • Village (need to design)
  • Base (ready for final sizing – waiting for box)
  • Sky (need black caulk and backdrop)
  • Large snowflakes (need to design) (this is my last priority)

I’m hoping that putting the Jelly Belly’s on the base and the backdrop will go pretty quickly. They don’t need precise placement and if needed I can recruit some helpers. I would like to wait to design the village until I get the box and exact sizing for the base. It feels good to have Frosty done. He is the most important part of the window. The rest is support for him. I now know I will find a way to get this done even if I don’t get all the parts I’d like to get done.


Frosty Progress Report

Frosty in process

Somehow I haven’t gotten the time in on Frosty over the last couple of weeks that I wanted and needed to. This last week was a bit better but I’m behind. I focused this week on getting the front of his body covered with candy so at least it looks like I’ve made some good progress. My schedule this coming week doesn’t look too bad so I will focus hard on Frosty and get lots of work done. In a perfect world, I would be finishing Frosty up this coming week so I could start on the background the following week.

I have decided to wait on his hat the broom. They are good projects to work on inside as the weather get colder and the garage gets uncomfortable. I prefer working on Frosty in the garage because I’m using silicon caulk and it has a strong odor and needs good ventilation.

I may have to ditch my plans for putting a small village on the left side with small figures of children building Frosty and on the right side Frosty and some kids marching off into the hills. I hope that I can get them done. But if I have to leave them out no one will know that they are missing. I just like it when there are extra details to see when you get up close to the window.

Frosty Shaping


Frosty with no arms

Over the last couple of weeks I’ve been working on getting all the construction phase of my “Frosty” project done. The deadline I set myself was September 8th but I didn’t make that. Other project with a closer due date took priority. But I think I’ve finally got Frosty built and ready to start putting candy on.

Frosty with “skinny” legs

I ran into a couple of snags. His body shaping went pretty good but I was concerned about how skinny his legs turned out. After shaping his left arm I even more concerned because it just didn’t work. But I went on to the right arm and I was happy with that so using that as a reference I did the left arm over and it was better. With both arms done it was obvious that his legs were too skinny. Frosty is a really short and tubby snowman and the legs he had just visually couldn’t hold him up. So with Bill’s help we performed surgery. We cut of the inside half of both his legs and feet. After added in a couple of inches of Styrofoam, we glued the him back together. After more than 24 hours of drying, I reshaped his legs. Now they are much better.

[I will insert a photo of Frosty with his new legs as soon as I get one taken]

I also go his hat, bow tie and broom all ready for candy. Last Friday I actually put the candy on Frosty’s bow tie. It helped me feel a little better about being behind my schedule because at least I started putting candy on. I’m happy with how Frosty is coming so far. There is a fun quirkiness about his shape that I hope will be enhanced as he moves forward in the process.

candy covered bow tie

Candy on bow tie: Tart ‘n’ Tiny (red), Gum Balls (purple & green), Runts (orange)


Official start to Frosty

rough shaping of Frosty

Today I made an official start on my candy sculpture for South Jordan‘s “Something Sweet” Christmas window displays. For those of you who were lucky enough to grow up in the Salt Lake area during ZCMI‘s famous Christmas window displays you will be excited to know that the city of South Jordan is working to restore that Christmas tradition. After a google search I came up with this link to a few images from Christmas 1998.

When ZCMI was sold the new company didn’t have the in-house designers to continue the tradition and then Provo City Arts Council started sponsoring candy windows in various Center Street businesses. I got involved with that project in 2001 and continued making windows for them until 2007 when I started to raise puppies for Guide Dogs for the Blind. Provo had candy windows in 2008 and then with the change in focus with the new Covey Center for the Arts the Christmas candy windows in Provo came to an end.

Last year South Jordan approached me about doing a candy sculpture for them to kind of get things started on reviving the Candy Window tradition. Because I would love to see this wonderful holiday event make a come back I said yes. You can see my “Christmas A to Z” project here. This year is the next step in bringing back Candy Windows. South Jordan will have 4 candy window sculptures in the Town Center Drive area just off Redwood Road and south of 104th South. I’m also excited because one of the candy artist comes to us with experience doing the original windows at ZCMI. My sculpture will be in the Cold Stone Creamery. Our theme is Christmas Carols and with my window being in an ice cream shop “Frosty the Snowman” seemed like the perfect match.

So here are a few photos of Frosty starting to take shape. We gained a lot of expertise from Gary’s many years at ZCMI and he let us use his big hot-wire cutters to cut the rough shape out of big blocks of Styrofoam. This is so much faster than how I’ve done it in the past. Bill is planning to make me a smaller hot-wire cutter but he hasn’t had time yet. So much more to do and after I get Girls Camp finished this project will have to take some priority.

Gary and Bill making the first cut to shape Frosty

making the second cut on Frosty


the second cut finished


close-up of the third cut on Frosty


nearing the end of the fourth cut

cutting out Frosty’s legs

more rough shaping of Frosty

Frosty strapped into the back of the pick-up for the trip to our house


Candy Sculpture Class

Tonight I taught a class at the Gale Center. The purpose of the class was to expose potential candy artists to the basic principles of creating a sculpture out of candy. We ran into a couple of challenges. There was no requirement to register so we had no idea how many people would come. We prepared for 20 and about twice that showed up. The second was the kids. We had lots of kids show up. Actually most of the participants came as families. There was lots of scrambling to get the needed supplies and power to all of the glue guns but everyone seemed to have a good time. There was lots of chaos and all thoughts of teaching how to make the little snowman step by step disappeared after the first set of instructions. The students all seemed to have trouble with getting the snowflake sprinkles I had to cover the Styrofoam balls to stick. But they were all very creative in how they did their hats and other parts of the snowman. I think we will be doing more classes in the future but we will require registration and have separate classes for adults and kids/families.

A to Z installation

Bill and I at the Gale Center with Christmas from A to Z

Today was the day to take the tree to the Gale Center. I picked up a cold last week and didn’t quite get the green finished on Saturday so I had to finish this morning along with a few touch ups. Finally it was ready to clean off all the hot glue threads. With that done I gathered up my supplies and waited for Bill to come to help me get it moved. It wasn’t too heavy, less than 50 lbs. I would guess so it wasn’t too hard. We put couch cushions in the back of our station wagon and it just fit. Once at the Gale Center it took a few minutes to get the table set up and then move the tree into place. It was too tall to go on the stage but the table fit on the step down so the stage area still worked fine. We played around with how to best arrange the packages etc. that go under the tree and then we glued them into place. Last thing was to make sure that all the new hot glue strings were cleaned off. Bill went the extra mile and took the heat gun over the whole tree again.

It will be on display at the Gale Center along with their annual Gingerbread contest through December 2nd. The Gale Center is at 10300 South Beckstead Lane. ( Beakstead Lane is the first light east of Redwood Road.) They are open from 10 a.m to 6 p.m. Tuesday to Friday and Saturdays from 10 a.m. to 2 p.m. But they are closed for Thanksgiving from Wednesday to the end of the week.

It feel so good to have this done. I still want to use the images to make a children’s picture book. I’ll have to squeeze that in between other projects that have taken a back seat while I finished this one up. 

Candy Day 18

Today (and the next week) was all about gluing on the green candy to cover the tree. I am cutting most of the candy in half but not down the middle to help the candy go farther and to make them different lengths. Hopefully this will give a more realistic look to the tree. After I had done a section, I decided that it needed something more so I decided to add a bunch of yellow sour balls. It was a bit of a pain to get them on in the area that I had already covered but I think it helps the tree look better and it should help the green candy stretch farther. I’m pretty sure I don’t really have enough but I’ll have to find a way to make it work. The back side probably doesn’t need to be glued as close together as the front side because it won’t be viewed as closely. I’ve calculated that if I get one side of the tree finished every two days I should finish the tree next Saturday. That will give me Monday to clean things up and get it transported over to the Gale Center.

Photos and Assembly

Angel from photo shoot

Because I’d like to use this project to illustrate a children’s Christmas book, today I tried to get some decent photos of all the A to Z parts before I assemble the project together. I set up a white backdrop and a couple of extra lights to shoot the objects against. It was ok but not wonderful. I got out my heat gun and worked on getting all the hot glue strings off and then taking several shots of each object. This took and while and my camera battery was flashing red by the time I finished. I sure hope that the quality of the photos is good enough to make a cute children’s book.

Next step was to decide final placement for all the parts and pieces. I thought I might need all four sides of my tree but when it got right down to it two sides for the ornaments was more than enough. I really should have made the tree shorter. I pulled out a measuring tape today and the project is bigger than I had originally planned. It is almost 60″ tall instead of being 3 or 4 feet tall. I’m not really surprised but I should have thought through some of the implications before I let the project grow that tall. It takes a lot more candy and time when it is at least 12″ taller than needed. The back of the tree will still be finished but it won’t have any of the A to Z search items on it. It took some trial and error to get what felt like a good arrangement under the tree and on the tree. Than I attached all the ornaments to the tree. The items under the tree are not glued down yet.

Tree with ornaments and packages

After attaching all the ornaments I added a bunch of large red gum balls to help fill the tree up and to give it more color. For the most part I’m happy with how it is looking. I then started the last big step of the project, gluing all the green licorice pastilles to the tree.

Candy Day 17

Jazzed up yellow box

 Today was gingerbread day. I make two gingerbread men and broke one in pieces getting it off the tin foil. So I let the other one cool before trying to move it and it was just fine. While I was out getting molasses I checked out the Christmas candy that they were just putting on the shelves. I didn’t find anything exciting though. While the gingerbread was cooling I added some color to the extra yellow box. Wow! what a difference some color and a bow made to that box. When the gingerbread was cool I decorated him with licorice and a few little candies. Now all the little parts and pieces of the project should be done. The last thing I worked on today was getting some of the green candy around each of the lights on the tree. It seems like a good idea to make sure that none of the ornaments are too close to the lights so I can’t fit the green candy in. Tomorrow is a big day. I’m going to shoot the best photos I can of each ornament and then it is time to attach them all in place.

Gingerbread Man

Candy Day 16

Quilt under the tree

Close up of quilt

Before I got back to work on the quilt I put together a simple ornament. It kind of slipped through the cracks and I forgot that I needed it. Then it was hours and hours of placing red Mike n’ Ikes. Each row got a little faster as each row was a little shorter. I listen to audio books while I’m working on the project so that helps the time go faster. Today the book was “Cruel and Unusual” by Patricia Cornwell. I still need to make a gingerbread man but I realized I have no molasses so I’ll have to pick some up I make a batch tomorrow.