Construction Day 9

finished under tree structure

Today concluded the construction phase of this project! I got the rest of the painting done which finishes my goal for the week. I hope to take some time tomorrow to move ahead on next weeks goal. It is kind of a big milestone to be ready to start putting candy on the structure. So far I’ve enjoyed this project and I’m kind of excited to see how it turns out. I hope it is my best yet.

Construction Day 8

My workspace

Didn’t get everything done today I had hoped.  But I spent some time getting my workspace set up inside because we had a major change in the weather and it was very cold outside. So I’ve moved the tree inside where I finished painting it. The next step was to paint the objects under the tree but then I realized that I needed to decide what color they should be. In order to decide on the color I needed to look at my candy stash and figure out what I had that would work for each object. That takes time and I didn’t get very far. It is an important step in the long run.
I got an email from the candy company to day telling me that they only have 25 lbs of the green candy and did I want them to just send what they had. I said that was fine and I got notification a while later that the candy had been shipped.
Some other exciting but challenging news today. We will be getting a new puppy to raise for Guide Dogs for the Blind next week. We thought we were going to wait until November to get our next puppy but they have one ready for us now and we decided that would be o.k. I hope she is a good puppy and I can find good ways to work on this project while she is still very young.

Construction Day 7

I shaped the rest of the support structures for under the tree today. Plus I got more green paint and blades for my xacto knife which will come in handy later when I need to cut candy. I also ordered almost 30 lbs of green licorice pastilles. I hope I got enough. I tried to calculate how much I would need but the number I came up with was way more than I can spend and didn’t take into account all the other stuff that will be on the tree. I think I can make it work out. While I was shaping the support for Mary and Jesus I went ahead and did some for the ornaments on the tree too. So I should have the bulk of the really messy Styrofoam work done now. I meant to take a photo at this stage but it didn’t get done. Tomorrow I’m planning to paint all the under-tree stuff so I should be able to get a photo of it than. That will complete my tasks for the week. Next week is kind of exciting because I get to actually start working with the candy!

Construction Day 6

Nice change of pace today. I worked on structure for the stuff going under the tree. I cut some fabric for the quilted tree skirt, re-sized a cardboard box for the unwrapped gift, made some more gift boxes, decided the size of Mary and Jesus, and shaped a yule log out of Styrofoam. I also shaped the tree stand. This probably won’t show but I think it will help everything to look right. It was good to figure out what is going under the tree. Tomorrow I plan to shape the jacket (with a zipper) that goes into the open box and shape any substructure I need for Mary and Jesus. Then when I get everything painted on Thursday I should be ready to start putting candy on things next week.

Some good news today too. The check came from Jordan River. Yeah! I really didn’t want to have to call and see why it was taking so long. I think I’ll order the green candy for the tree tomorrow too.

Construction Day 5

tree structure with lights and most of the green paint

My goal this morning was to get the lights on the tree, get the tree painted and pick up some supplies. I did darn close to getting that all done. First I picked up supplies (hot glue, rolled fondant and paint). Then this afternoon a spent 2 hours putting the lights on the tree and then painting it. Painting was much slower than I thought because of the rough texture I put on the surface. The only flaw was that I ran out of green paint! I’m close but I didn’t quite get it all done. But not bad to come so close to my goal. I had to move into the garage soon after I started painting because it started to rain.

Construction Day 4

shaped tree structure

I got the tree structure all shaped today! I like the new shaping technique I figured out. I think it will work well when the candy is put on. It better because I’m stuck with it now. It was hard work to get the shaping finished and I felt like I was on the verge of getting a blister on my thumb to I did the last bit wearing a leather gardening glove. I hate to admit it but I’m getting a cold so I’m not sure how much more I’ll be getting down in the next few days.

Construction Day 3

Partially shape tree structure

This afternoon and took the tree out in the back yard and started the shaping phase. I though I’d be able to use a saw to take down some of the ridges but it didn’t work very well. The next ridge was getting in the way. So I ended up doing the scrap method, with a chisel. I got the ridges knock down most of the way but there is a lot more work to do to get the shaping right. Towards the end I was experimenting with how to use the chisel and came up with a twisting sort of stroke that leaves an interesting and uneven surface that I think I like. The tree will have a simple cone shape but I don’t want it to look too sterile and I think this method will help.

Construction Day 2

With Bill’s help we got the structure of the tree all put together. Yeah! We ran into a few snags but we go through them all. First Bill couldn’t fine his jig saw so we had to cut the plywood base by hand. I had to make three trips to Lowes to get things. First the plug I got for the end of the pvc pipe didn’t fit inside the pipe because it was the same side. So I went to find the right size. I couldn’t see one so I got a coupler and that fixed that problem. Next the 1″ bolt I got was too short. By the time we got all the layers – metal plate, washer, plywood, pvc plug and two more washers there wasn’t any bolt at all to put the nut on. So I went and picked up a 2″ bolt. After we got the support system all assembled we started gluing together all the Styrofoam tree parts. Then we ran out of liquid nail on the last big piece to stick together. So I made one last trip to Lowes.

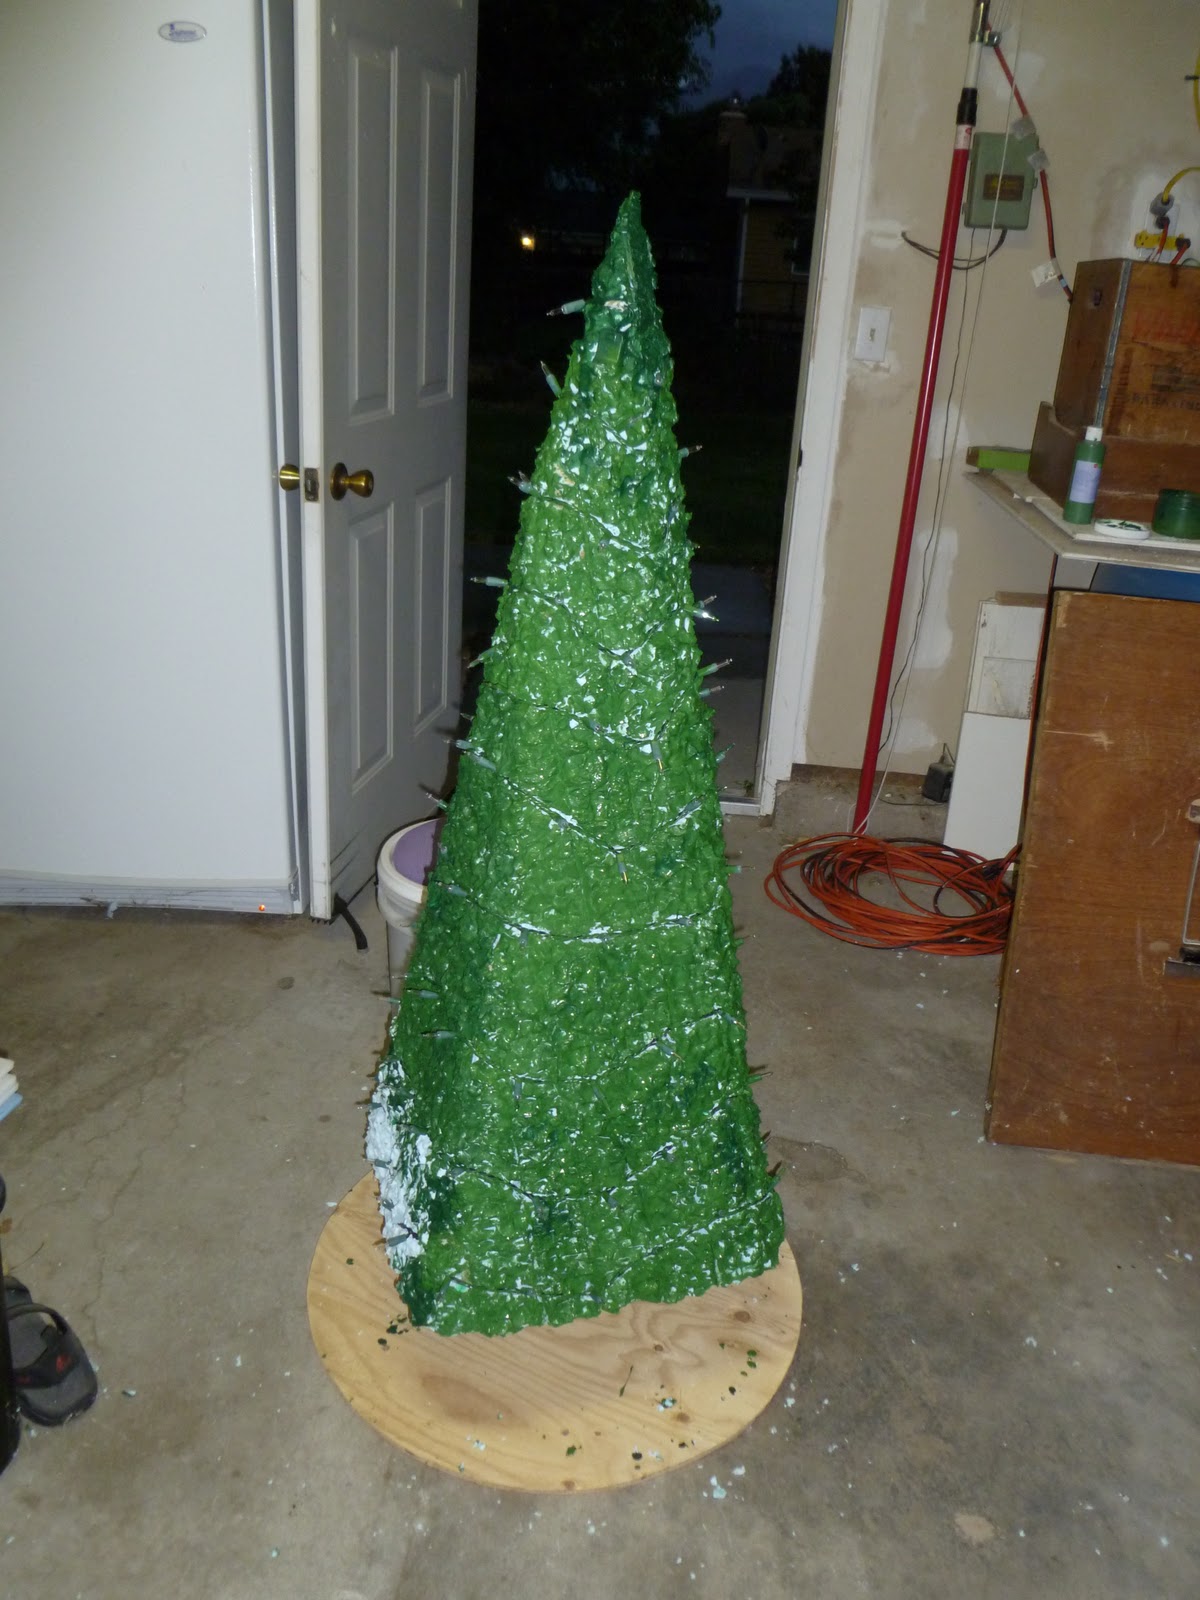
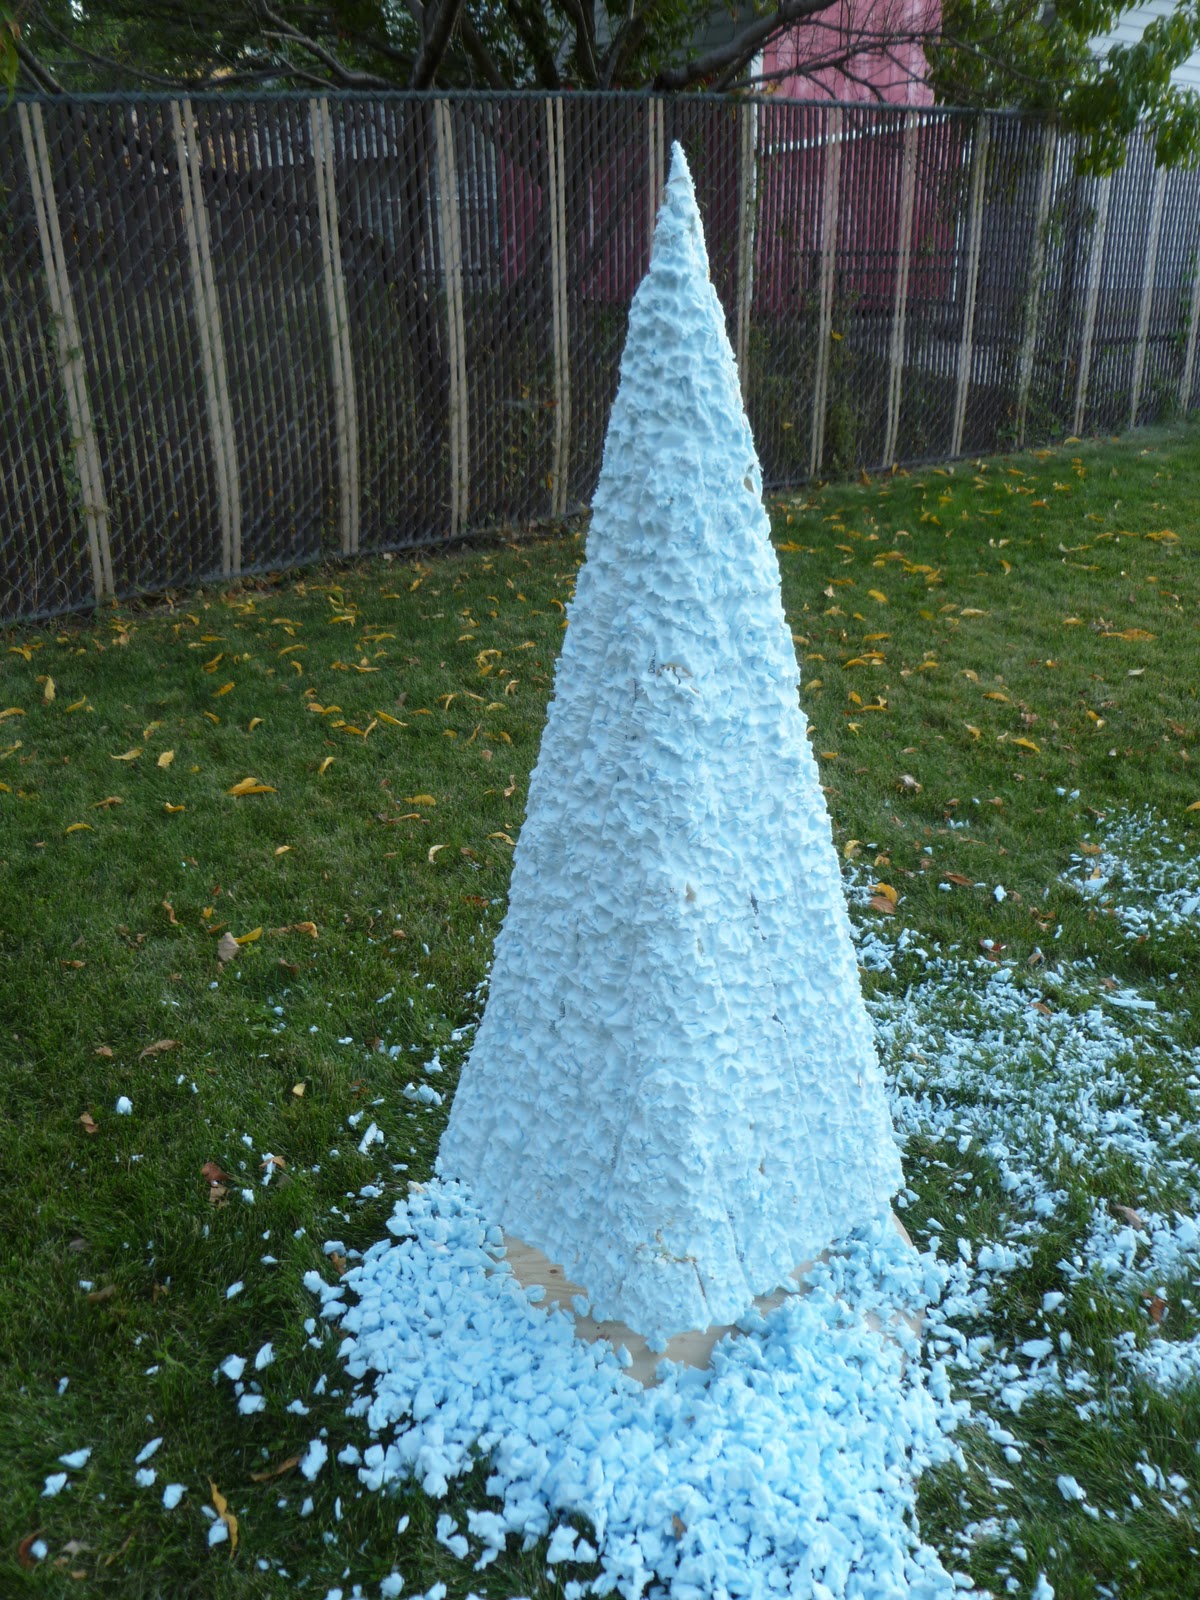
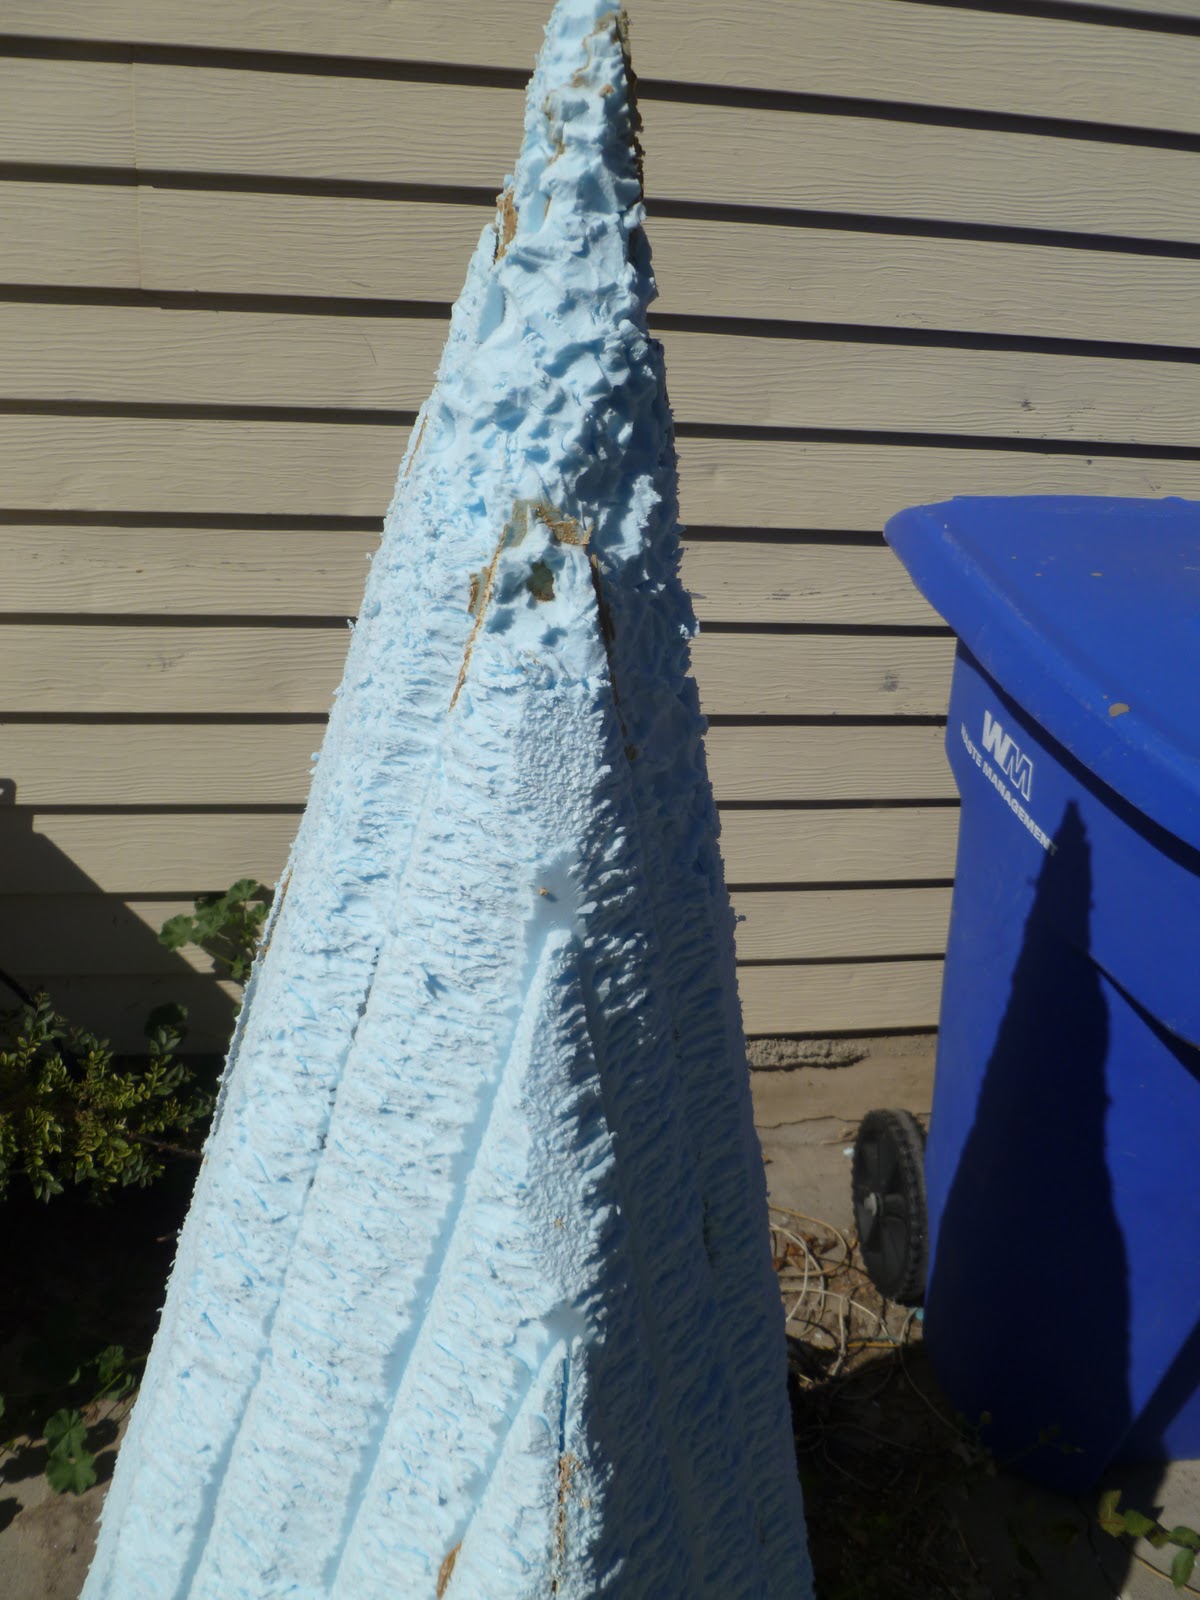
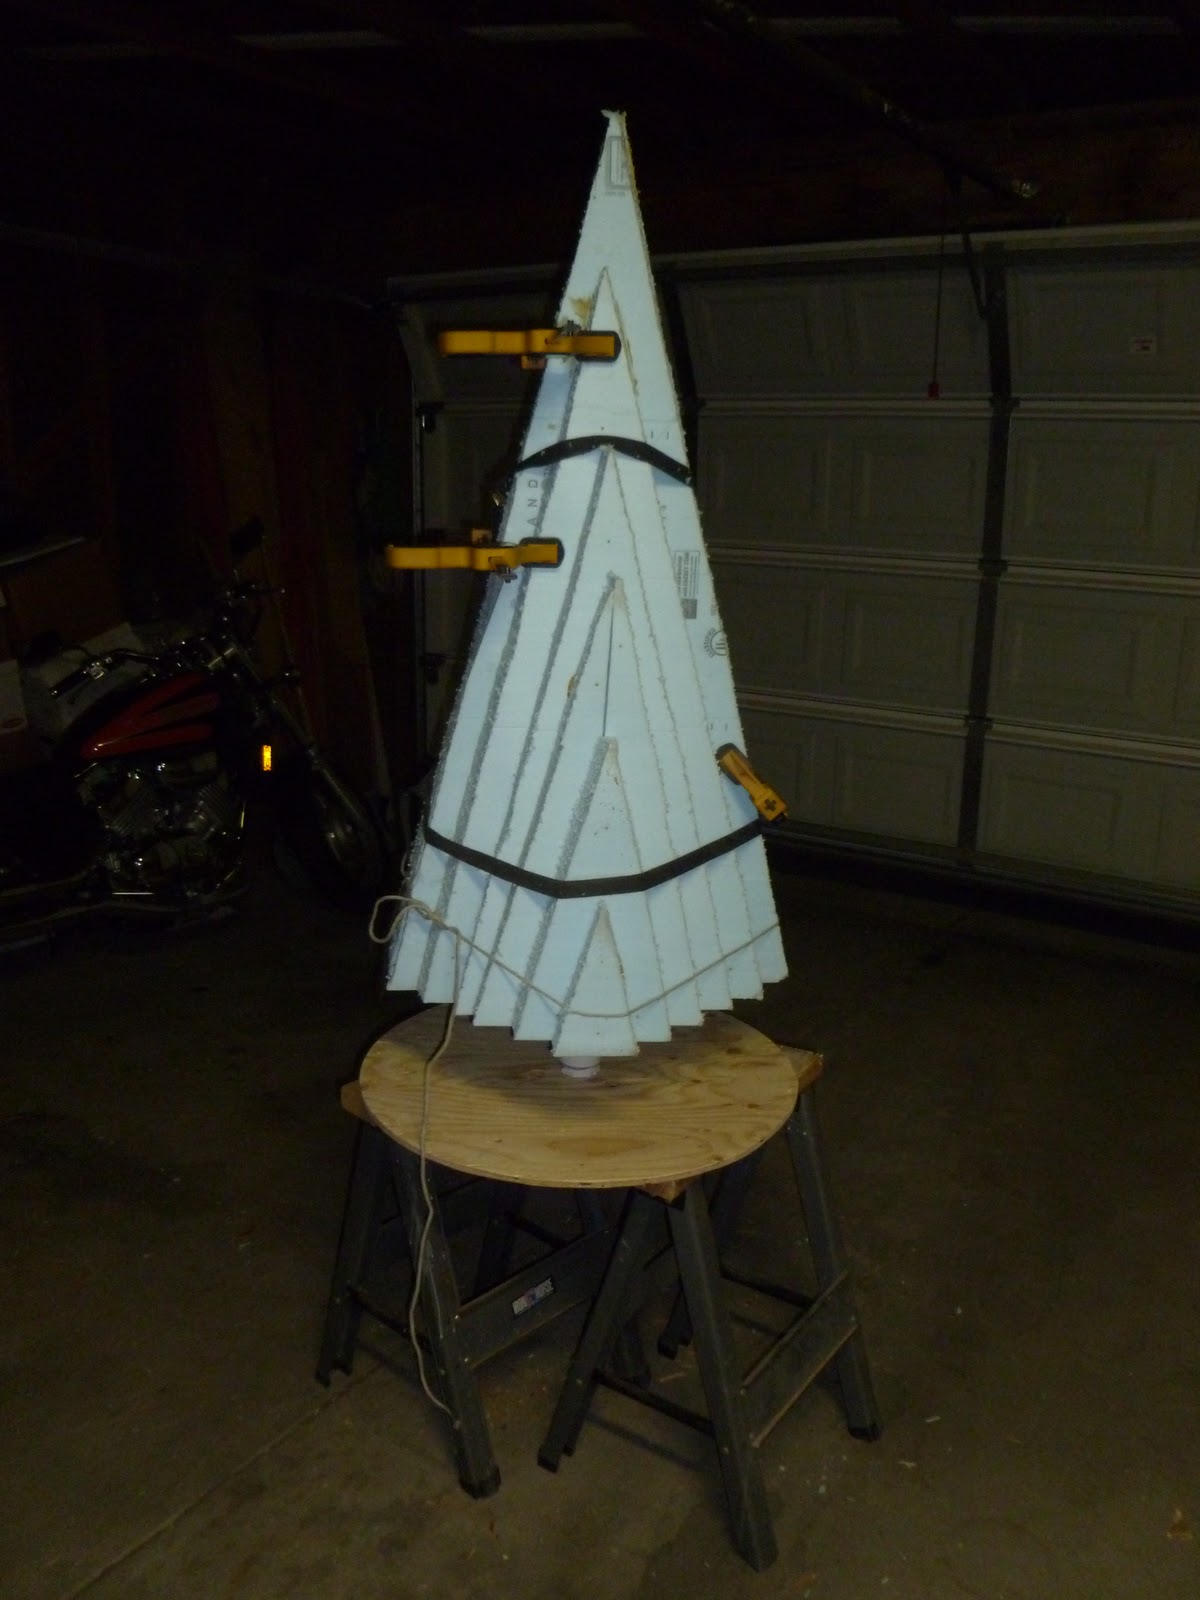
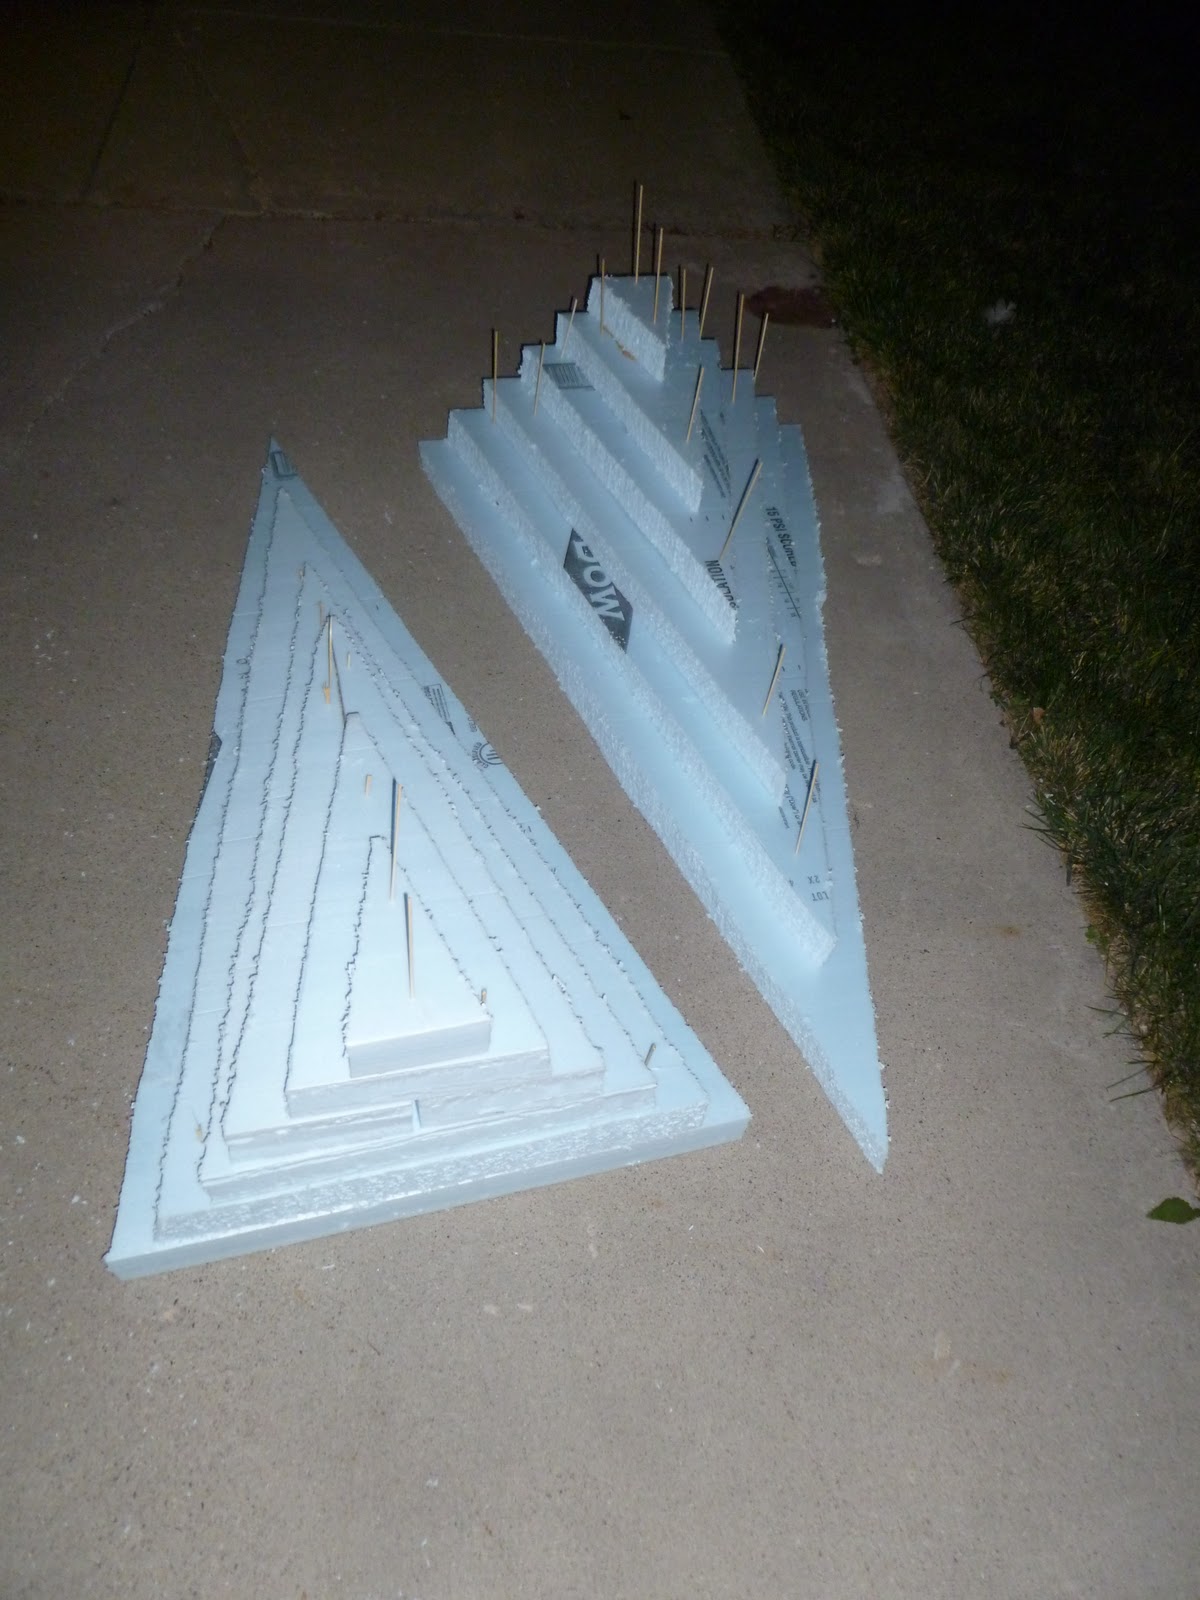
assembled tree structure

 It feel so good to have this phase of construction done. Bill is happy with how the support system worked out too. Now I should be able to do the rest of the project without any help from Bill. Next week I want to get the tree to its final shape, insert the Christmas lights and paint the structure. If possible I’d also like to rough in the large objects that go under the tree.

Construction Day 1

This afternoon I went to Lowes and purchased a 2″ x 4′ x 8′ sheet of Styrofoam, two tubes of liquid nails and some hardware to attach the tree to the base. This evening I spent about an hour and a half cutting the Styrofoam with a hand saw into tall triangles to form the structure of the tree. The largest triangles are 48″ tall and 24″ wide at the base. The next size was 40″ tall, then 32″ etc. until the last one was just 10″ tall. There are two triangles of each size plus one that is cut in half to fit around the pvc pipe that goes up the center of the tree for structural support. I glued the two halves of the tree together with liquid nails and bamboo skewers to help hold everything in place while it dries.

two halves of tree structure

Tomorrow I hope to get the base cut and assemble the tree structure the rest of the way. I hope to get Bill’s help on some of this because he is a much better engineer than I am and it is important that the structure is very sturdy. Things get heavier than you think when you get all that candy glued on.
I actually enjoyed the process. It has been 3 years since I made a candy creation on this kind of scale.